For the absolute beginner, here’s everything you need to know to play your first guitar chord, E minor.
Once you’re through this article you’ll also be able to teach yourself new chords!
Grab your guitar and put it in playing position. I’m going to assume you’ve tuned it up, but if not, now’s the time. We’re going to use this opportunity to learn to read a chord chart too.
reading a chord chart
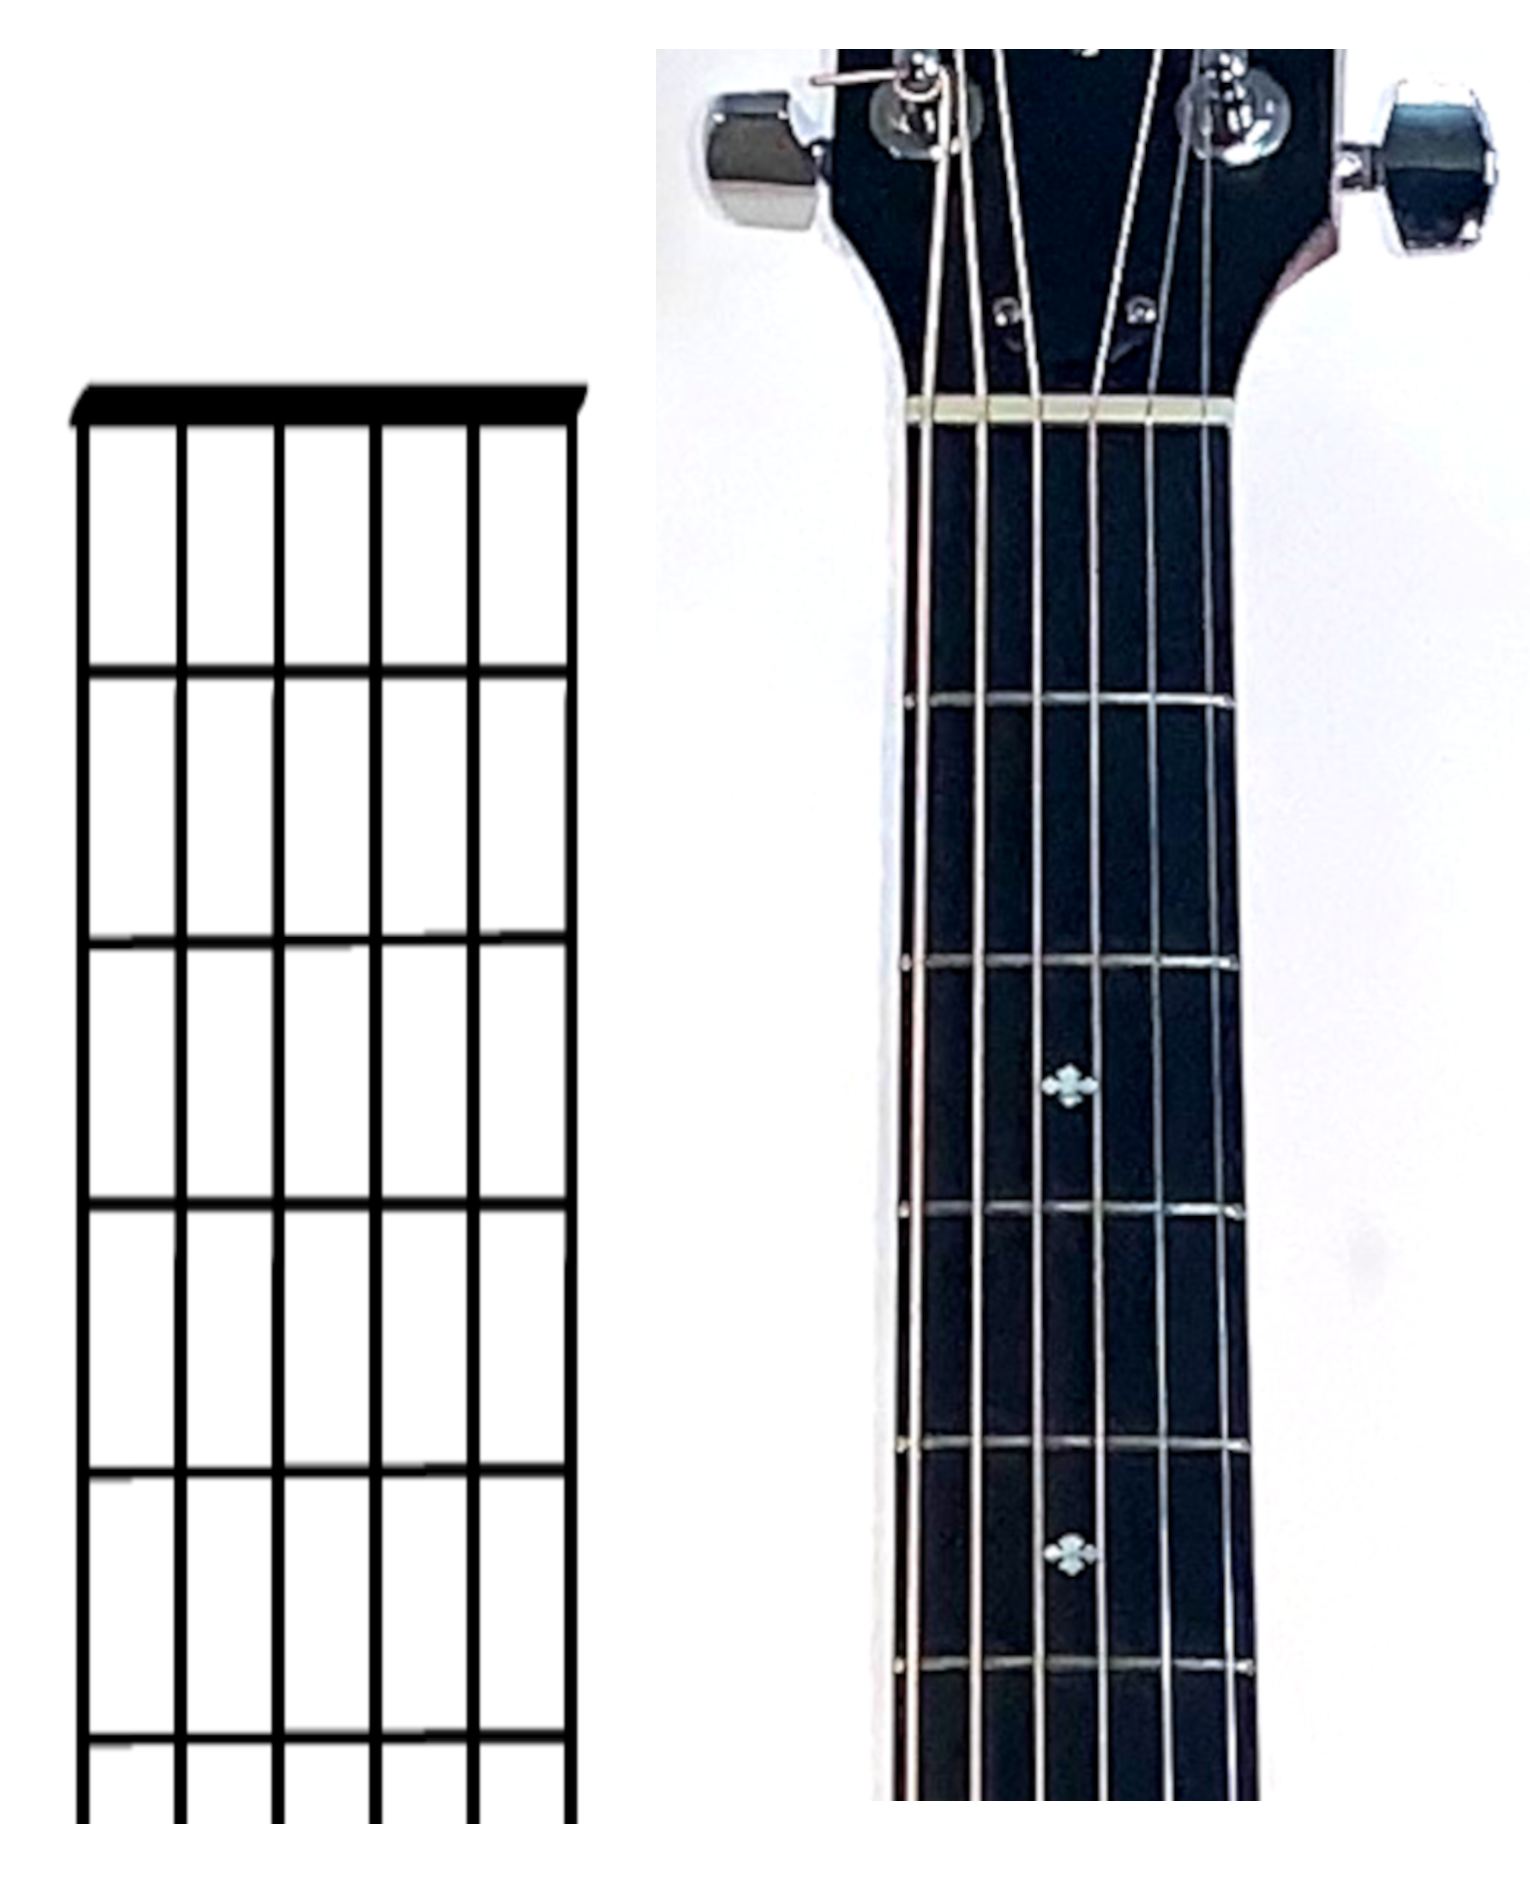
Chord charts are graphical representations of the guitar fretboard that show where to place your fingers to play a chord. They are set up vertically so it may take a moment to become accustomed to reading them. Here’s a side-by-side of the grid and my guitar’s fretboard.
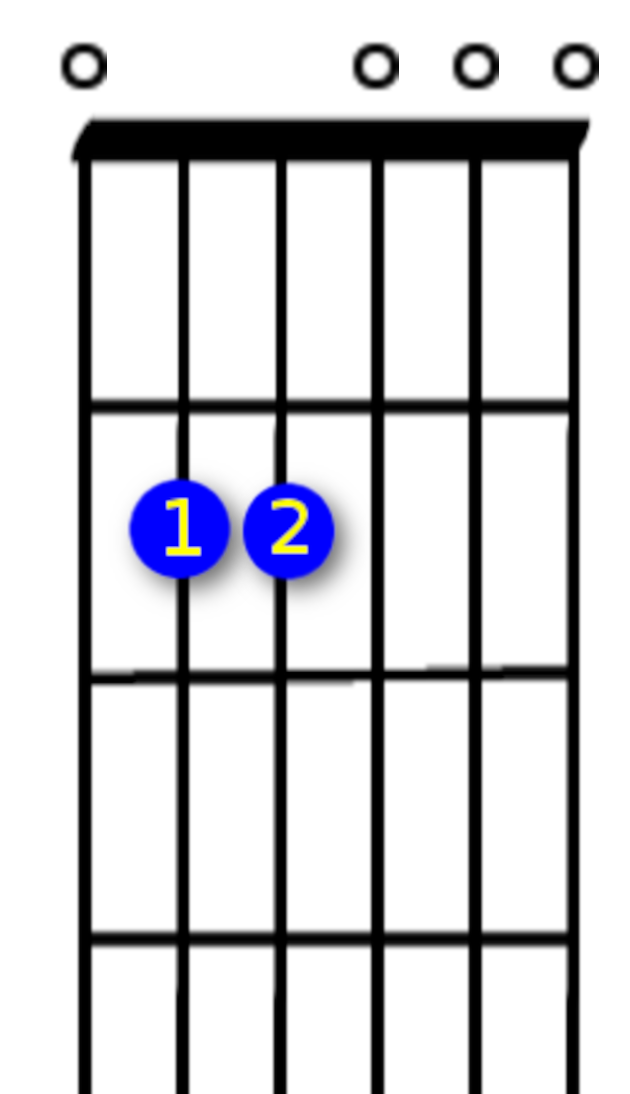
Okay, now look at the image below, the actual chart for the E minor chord.
Here’s how to read this chart:
- the dots on the chart show where to place your fingertips
- if there is a small circle at the top of one of the lines, this indicates that the string should be played “open,” meaning no fingers on frets for those strings
- the numbers inside the dots show which fingers on your fret hand to use. Not all chord charts include this, but some do.
Once you’re in position, strum the strings, and congratulations, you’ve strummed your first chord! Look out, Tommy Emmanuel!
Some technique tips to improve your sound:
- Get as much on the fingertips as possible. If you keep your fingernails long you may have to trim them on your fretting hand to get good quality sound.
- You’ll have to press pretty hard at first. It might even hurt a little. It gets better, but the first week of playing can hurt a bit. Your fingers will develop callouses and strength pretty quickly.
- Place your fingers right between the frets (the metal bars on your fretboard). If you’re too close to one fret or the other your sound might not be as clear or last as long as you might want. It’ll also be easiest to press the string down if you’re directly between the frets.
Now that you know how to read a chord chart, maybe learn how to read tablature and then have a go at some 12-bar blues!
